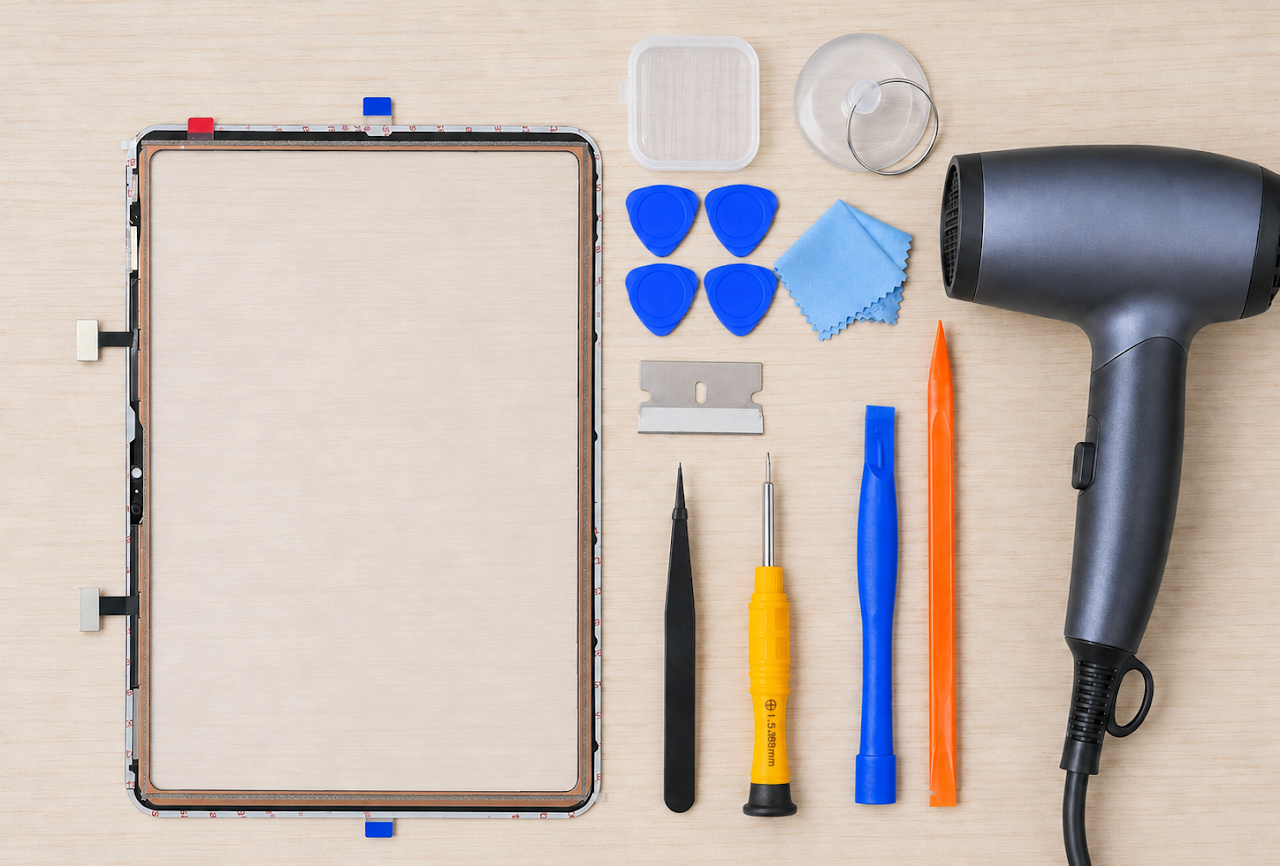
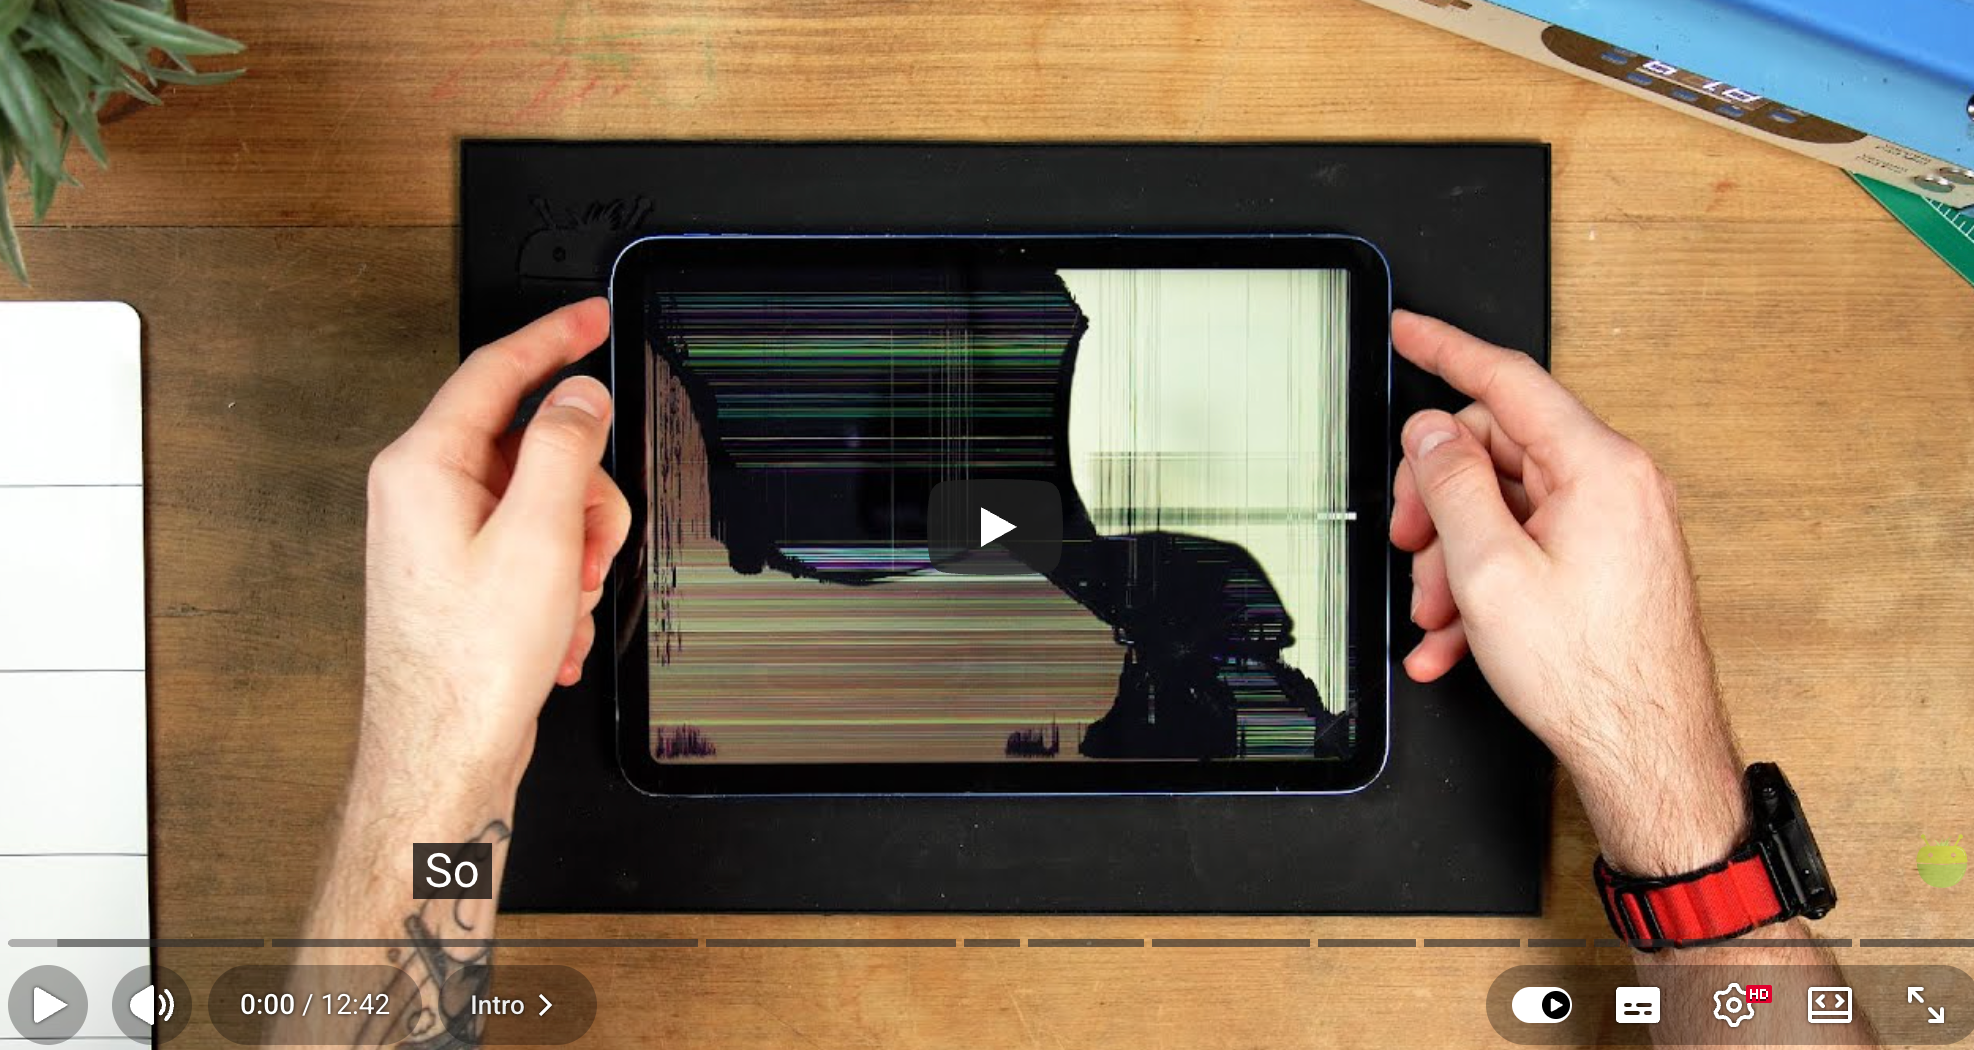
If anything is unclear during installation, compare the same step in both guides before continuing.
Step 3
Do not apply adhesive yet
Test the replacement touch screen and LCD display before removing the double-sided adhesive backing and fully closing the iPad.
0 of 6 checks completed.
Troubleshooting
What problem do you see?
Stop. Power off before reopening the iPad.
Try this first
Make sure the iPad is charged.
Restart the iPad and test again.
If the issue remains, power off the iPad before reopening it.
If the issue remains, choose the closest symptom below.
Troubleshooting > Display / LCD issue / iPad does not turn on
What do you see?
Troubleshooting > Touch / digitizer issue
What do you experience?
Troubleshooting > Display / LCD issue / iPad does not turn on > Screen is black and iPad does not respond
Check power response
While the battery is connected, keep all internal connectors connected.Do not disconnect, reconnect, or handle any internal connector.
Charge the iPad for 5 minutes.
Restart the iPad and test again.
Check whether the screen lights up, shows the Apple logo, makes a sound, or responds when connected to a charger.
If the iPad still does not respond, disconnect the battery first, then check whether the battery connector is correctly seated.
Reconnect the battery, power on the iPad, and test again.
The iPad turns on
Return to Function Tests and repeat every test before applying adhesive.
The iPad still does not turn on
Do not repeat the disassembly process or seal the screen.
Troubleshooting > Touch / digitizer issue
Check the touch screen connection
While the battery is connected, keep all internal connectors connected.Do not disconnect, reconnect, or handle any internal connector.
Power off the iPad and confirm the battery is below 25%, then disconnect the battery.
Disconnect the touch screen cable. This is also called the digitizer cable.
Inspect the touch screen cable, connector, and matching connection points for visible damage, bends, dust, debris, missing pins, or bent pins.
If you see dust or debris, lightly moisten a clean cotton swab with 90% or higher isopropyl alcohol.
Gently wipe the accessible touch screen connector surfaces and the matching connection points, then wait until completely dry.
Reseat the touch screen cable and make sure it is fully connected. You should hear a click when the connector is properly seated.
Gently place the LCD and touch screen back in the correct position without pressing hard. Make sure the LCD connector, touch screen cable, and flex cables are not bent, folded, pinched, or pulled. Check that there are no screws, loose parts, adhesive pieces, dust, debris, or other foreign objects under the LCD, touch screen, or connector area that could block the screen or press against it.
Reconnect the battery, power on the iPad, and test touch before removing the double-sided adhesive backing or applying adhesive.
Retest this symptom
After reconnecting, enter the passcode and confirm that taps and swipes respond normally.
Touch works normally
Repeat every function test before applying adhesive.
Touch still does not work
Do not repeat the disassembly process or seal the screen.
Troubleshooting > Front camera image is blurry or blocked
Check the camera openings
Carefully lift the touch screen from one side. Support the connector side against a stable object to avoid damaging the touch screen connector.
Inspect the inside camera opening on the touch screen. Check for dust, foreign material, or whether the opening is blocked by the camera bracket.
Inspect the camera opening on the iPad body. Check for dust or foreign material.
If you see dust or foreign material, lightly moisten a clean cotton swab with 90% or higher isopropyl alcohol.
Gently clean the camera opening, then wait until it is completely dry.
Test the front camera again before removing the double-sided adhesive backing or applying adhesive.
Camera image is clear
Return to Function Tests and repeat every test before applying adhesive.
Camera image is still blurry or blocked
Do not repeat the disassembly process or seal the screen.
Troubleshooting > Display / LCD issue / iPad does not turn on
Check the LCD/display connection
While the battery is connected, keep all internal connectors connected.Do not disconnect, reconnect, or handle any internal connector.
Power off the iPad and confirm the battery is below 25%, then disconnect the battery.
Disconnect the LCD connector. This step is for the LCD connector, not the touch screen connector.
Inspect the LCD connector, matching connection points, and flex cable for visible breaks, bends, dust, debris, missing pins, or bent pins.
If you see dust or debris, lightly moisten a clean cotton swab with 90% or higher isopropyl alcohol.
Gently wipe the accessible LCD connector surfaces and the matching connection points, then wait until completely dry.
Reseat the LCD connector and make sure it is fully connected.
Gently place the screen back in the correct position without pressing hard. Make sure the LCD connector and flex cable are not bent, folded, pinched, or pulled. Check that there are no screws, loose parts, adhesive pieces, dust, debris, or other foreign objects under the LCD or connector area that could block the screen or press against it.
Reconnect the battery, power on the iPad, and test the screen before removing the double-sided adhesive backing or applying adhesive.
Retest this symptom
Test the original display symptom again before applying adhesive.
The display issue is gone
Repeat every function test before applying adhesive.
The display issue remains
Do not repeat the disassembly process or seal the screen.
Troubleshooting > Screen will not close properly
Check what is preventing the screen from fitting
Do not force the touch screen into the frame.Uneven pressure may crack the screen.
Stop trying to close the touch screen. Do not press it into the frame by force.
Check that the digitizer and LCD flex cables lie flat and are not trapped under the screen or other components.
Check that screws and internal components are installed in the correct positions and are not protruding against the screen.
Inspect the iPad frame edges for old adhesive, debris, bending, or damage.
Remove any obstruction you find, then reposition the screen.
Check whether the screen fits naturally into the frame.
The screen fits properly
Repeat every function test before applying adhesive or sealing the screen.
The screen still does not fit
Do not force the screen into place or seal the iPad.
Troubleshooting
Stop and check safely
Do not remove the double-sided adhesive backing or apply adhesive until the problem is resolved.
Troubleshooting > Contact support
Contact Us Through Your Amazon Order
A repair specialist will reply to all questions within 12 hours.
Go to Your Orders.
Find your order in the list.
Select Problem with order.
Choose your topic from the list displayed.
Select Contact seller.
Try the first checks, then choose one visible problem to continue.
Finish
Close the iPad only after every test passes
If you are unsure about any step, stop before applying adhesive and contact us through your Amazon order.